Screenshot editor
Grab an area, a window or the whole screen. Mark it up with arrows, steps, text and blur, then copy or save.
What it is
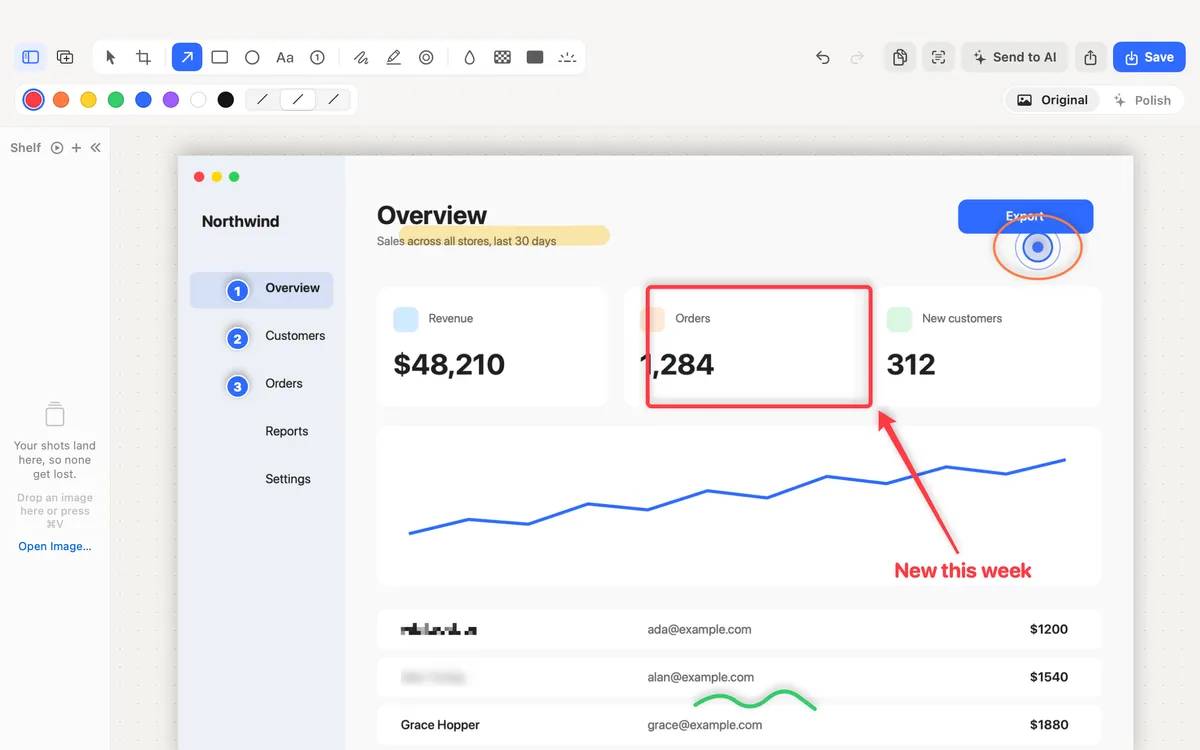
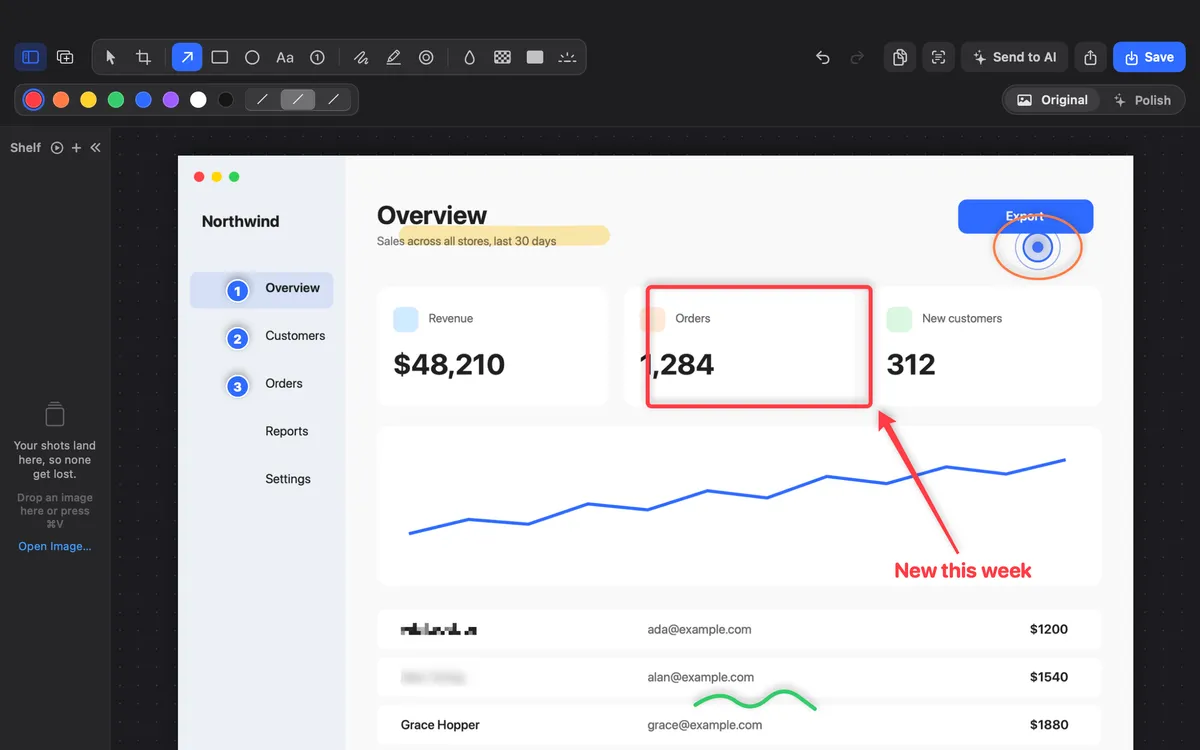
Clacky’s screenshot editor grabs an area, a window or the whole screen and opens the shot straight away, ready to mark up and share.
The toolbar has Crop, Arrow, Rectangle, Ellipse, Text, Highlighter, Pen, Numbered Step, Blur, Pixelate, Redact, Spotlight and a Clacky Ripple. Every tool has a one-letter key, and Undo and Redo work as you’d expect.
Everything stays on this Mac. Shots are saved to Pictures → Clacky Screenshots unless you pick another folder. The screenshot studio needs macOS 14 or later.
How to use it
Take a shot
Press ⌥⇧⌘4 for an area, ⌥⇧⌘5 for a window or ⌥⇧⌘3 for the full screen. Or click the Clacky icon in the menu bar, go to Studio and click Screenshot.
Allow Screen Recording once
The first time, macOS asks for Screen Recording. Clacky needs it to see the screen; nothing leaves your Mac.
Mark it up
The shot opens in the editor. Pick a tool from the toolbar, or press its key: A for Arrow, N for Numbered Step, T for Text, B for Blur, D for Redact.
Copy or save
Press ⌘C to copy it, ready to paste. Press ⌘S to save a copy next to the original (the original is never changed), or ⇧⌘S to save it somewhere else.
Tips
- The shortcuts sit next to macOS’s own (⇧⌘3, ⇧⌘4, ⇧⌘5), never on them. Change them in Settings → Shortcuts.
- For passwords and keys, use Redact, not Blur: a solid fill can’t be undone.
- Studio → All Screenshots shows your recent shots and where they’re saved.
Questions
- Does it replace the Mac’s own screenshot tool?
- No. Clacky’s shortcuts use ⌥ as well, so ⇧⌘3, ⇧⌘4 and ⇧⌘5 keep working as before.
- Are my screenshots uploaded anywhere?
- No. Shots are taken, edited and saved on your Mac.
- Which macOS do I need?
- The screenshot studio needs macOS 14 or later.
Make something on your Mac today.
Seven days free, every feature, cancel anytime.