 MacPip
Answer
How do I add arrows and numbered steps to a screenshot on a Mac?
For arrows, open the screenshot in Preview (or click the floating thumbnail), click Show Markup Toolbar, open Shapes and pick the arrow, then drag it where you want it to point.
Preview has no numbered-step tool, so you type each number with the Text tool. A screenshot editor with a step tool, like Clacky’s, drops 1, 2, 3 in order with one click each.
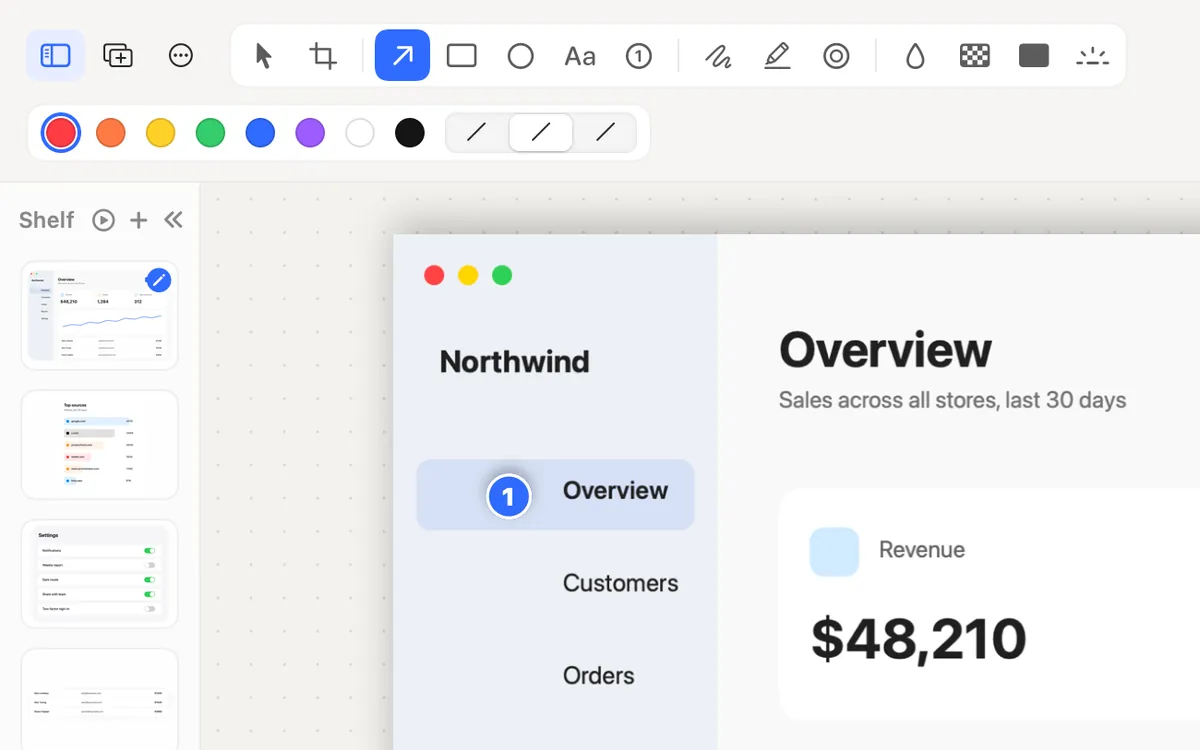
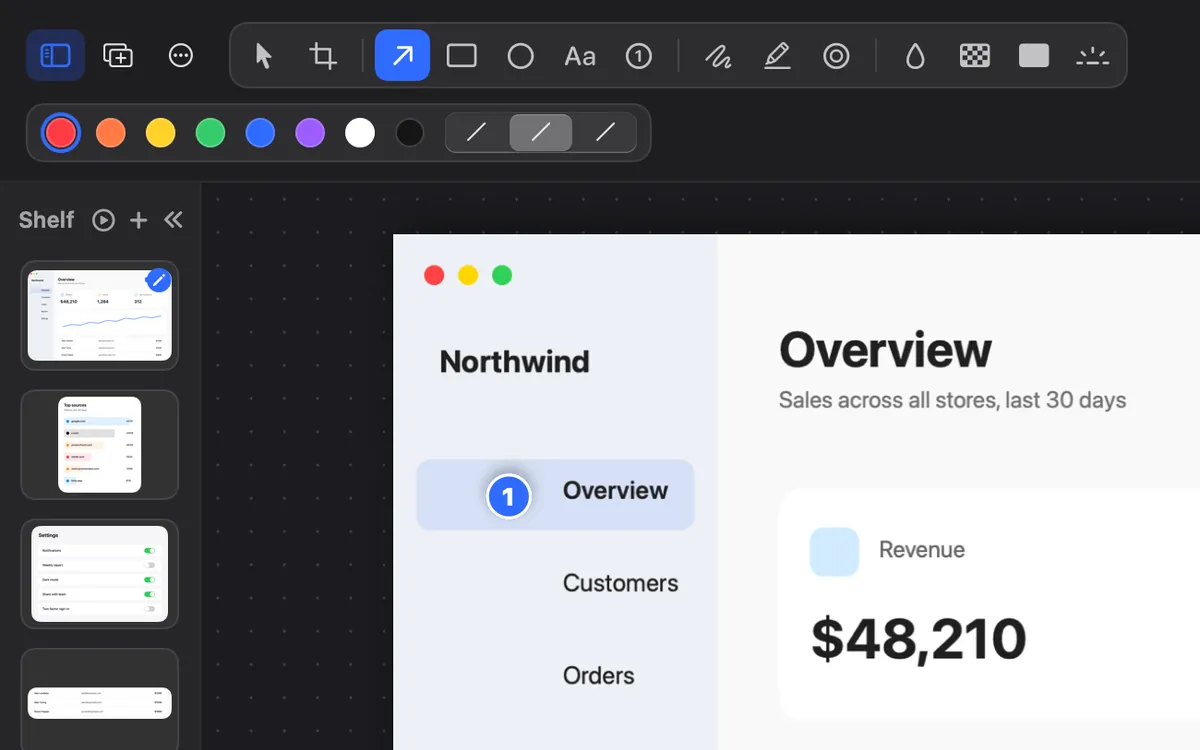
Arrows and text in Preview
- Take the screenshot and click the floating thumbnail, or open the file in Preview.
- Click Show Markup Toolbar.
- Click Shapes and choose the arrow. Drag it from where you start to what it points at.
- Use Shape Style for a thicker line and Border Color for its colour. Red or a bright orange reads well on most apps.
- Click Text, type a label, and set its size and colour with Text Style.
- Save. On an image, saved marks can’t be changed later, so keep the original if you might edit again.
Numbered steps without a step tool
- Draw a small circle with Shapes, give it a fill colour, then put a Text box with the number on top.
- Copy the first circle and number (Command-C, Command-V) and change the number for each step.
- Keep the numbers in reading order, left to right and top to bottom.
- Write the steps under the picture too, so people using screen readers get them.
With Clacky’s screenshot editor (macOS 14 or later)
Take a shot with ⌥⇧⌘4 (area) or ⌥⇧⌘5 (window), and every tool has a one-key shortcut:
- Arrow (A): point at something. Hold Shift to snap to 45°.
- Numbered Step (N): click to drop 1, 2, 3… in order.
- Text (T): click and type a label.
- Rectangle (R) and Circle (O): draw around something. Hold Shift for a square or a perfect circle.
- Highlighter (H) for text, Spotlight (F) to dim everything but one area, and Ripple (K) to show where a click happened.
Tips for clear instructions
- One arrow per idea. Three arrows on one button confuse more than they help.
- Crop first, so the steps are big enough to read on a phone.
- Pick one colour for all marks, and a second only for warnings.
- Hide anything private before you share it, see how to blur part of a screenshot.
Where these facts come from
Checked on 5 November 2026.
- Apple: Annotate an image in Preview on Mac (Show Markup Toolbar, Shapes, Text, Shape Style, Border Color, Text Style)
- Apple: How to take a screenshot on your Mac (click the thumbnail to edit)
Questions
Can I edit the arrows after saving in Preview?
Not on an image. Apple says saved annotations on an image can’t be changed. Convert it to a PDF first if you need to edit later.
Can I copy a marked-up screenshot without saving a file?
Do the Clacky step numbers renumber when I delete one?
Each click drops the next number in order. Select a step and press Delete to remove it, and undo with Command-Z.
Facts checked on 5 November 2026.
Related
- Blur part of a screenshot on a MacPreview has no blur tool, so cover it with a filled shape in Markup. Or use an editor with blur, like Clacky’s, which can find emails and keys for you.
- Take a screenshot without saving a fileAdd Control to the shortcut: Control-Shift-Command-4 copies the shot to the clipboard and saves nothing. Then paste it with Command-V.
- Screenshot editorGrab an area, a window or the whole screen. Mark it up with arrows, steps, text and blur, then copy or save.
- Combine several screenshots into one imageUse the Shortcuts app’s Combine Images action (side by side, stacked or a grid), Keynote, or Clacky’s Collage, which adds even gaps and a background.
- Is the built-in Mac screenshot tool enough?For everyday shots, yes. It has no blur or redact bar, numbered steps, backgrounds or scrolling capture. Here is what it does and when you need more.
Make something on your Mac today.
3 days free, every feature. Then $4.99 once.