 MacPip
Answer
How do I hide the menu bar and Dock in a screen recording?
Turn on Automatically hide and show the Dock in System Settings → Desktop & Dock and Automatically hide and show the menu bar (set it to Always), then record: both stay hidden until your pointer touches the edge of the screen.
Two other ways: record only a selected area of the screen, or crop the menu bar and Dock out after you record. Clacky’s Studio does that crop in one click.
Hide them in System Settings
The menu bar setting moved between macOS versions, so look in the place for yours.
- Choose Apple menu → System Settings.
- Click Desktop & Dock and turn on Automatically hide and show the Dock.
- Find Automatically hide and show the menu bar and set it to Always. It is in Desktop & Dock on macOS 13 Ventura, Control Center on macOS 14 Sonoma and 15 Sequoia, and Menu Bar on macOS 26 Tahoe.
- Record. Keep the pointer away from the top and bottom edges, or the bars slide back in.
- When you’re done, set both back the way you like them.
Other ways without changing settings
- Record a selected portion. In Shift-Command-5, choose Record Selected Portion and drag a box that stops below the menu bar and above the Dock.
- Use a full-screen app. Most apps in full screen hide the menu bar and the Dock until you point at the edge.
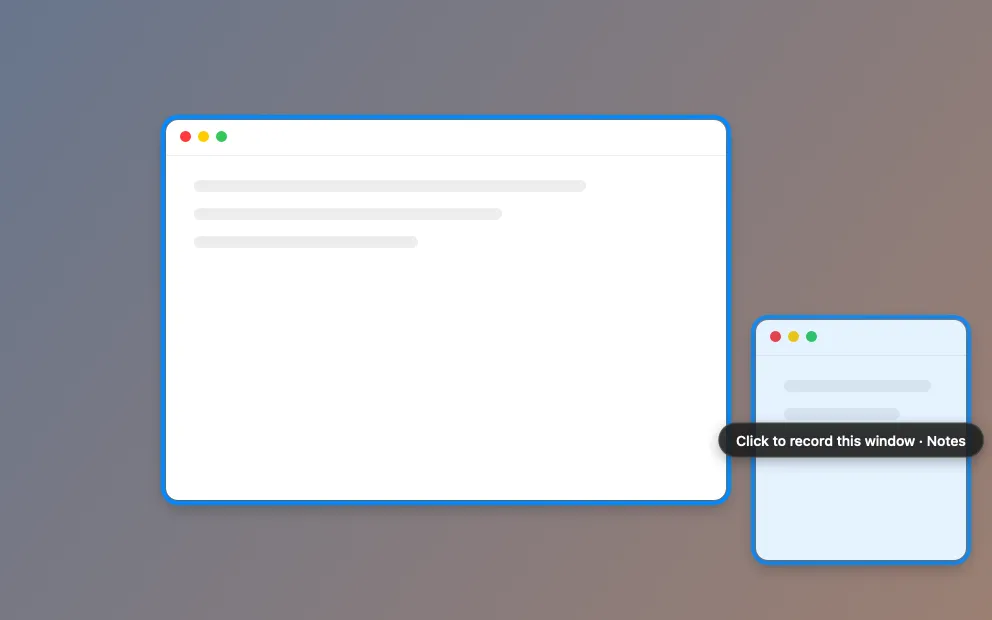
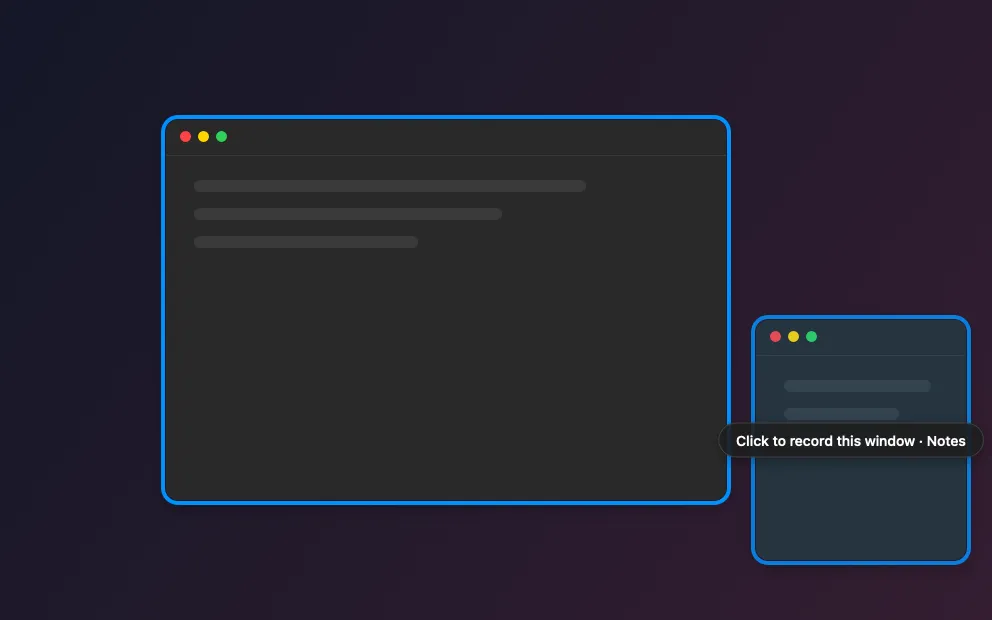
- Record one window. On macOS 26 the Screenshot toolbar can record a single window, which leaves both bars out.
- Crop afterwards. QuickTime Player can trim and rotate but not crop. iMovie and other editors can crop. See how to crop a screen recording.
With Clacky: one click in Studio
Clacky’s Screen Recorder (macOS 15 or later) can record Window or Area instead of Full Screen, which keeps both bars out from the start.
If you already recorded the full screen, open it in Studio (Edit in Studio after you stop, or Edit a Video for any video file), click Crop… and pick No menu bar or Dock. Zooms and captions still work inside the crop. The other choices are Full screen, Around your clicks and Free.
Where these facts come from
Checked on 5 November 2026.
- Apple: Change Menu Bar settings on Mac (macOS 14 and 26 versions)
- Apple: Change Desktop & Dock settings on Mac (macOS 13 version for the menu bar setting)
- Apple: Take screenshots or screen recordings on Mac (Record a window, macOS 26)
Questions
Why does the menu bar still show up in my recording?
Can I hide the menu bar icons only, not the whole bar?
Does hiding the Dock change my recording size?
Facts checked on 5 November 2026.
Related
- Hide desktop icons before recordingOn macOS 14 or later, untick Show Items On Desktop in Desktop & Dock. On macOS 13, use a Finder command, a folder, or record one window.
- Crop a screen recording on a MacQuickTime can’t crop. Use iMovie’s Cropping button (Crop to Fill), or record just an area. Clacky Studio crops out the menu bar and Dock in a click.
- CropHide the menu bar and the Dock in one click, crop to where you clicked, or drag the corners. Zooms and captions work inside the crop.
- Record one windowHover a window to light it up, click to pick it. Only that window is recorded, with your clicks, ripples and camera.
- Product demo video on MacRecord a product demo with clicks heard and seen, let Studio cut the pauses and zoom on clicks, add captions, and export for X, YouTube or a launch.
- How big is a screen recording on a Mac? I measured itI saved four test recordings seven ways. A minute of typing was 2.5 MB, scrolling 49 MB, ProRes almost 1 GB. What decides the size, and how to shrink it.
Make something on your Mac today.
3 days free, every feature. Then $4.99 once.